Email format error
Email cannot be empty
Email already exists
6-20 characters(letters plus numbers only)
The password is inconsistent
Email format error
Email cannot be empty
Email does not exist
6-20 characters(letters plus numbers only)
The password is inconsistent

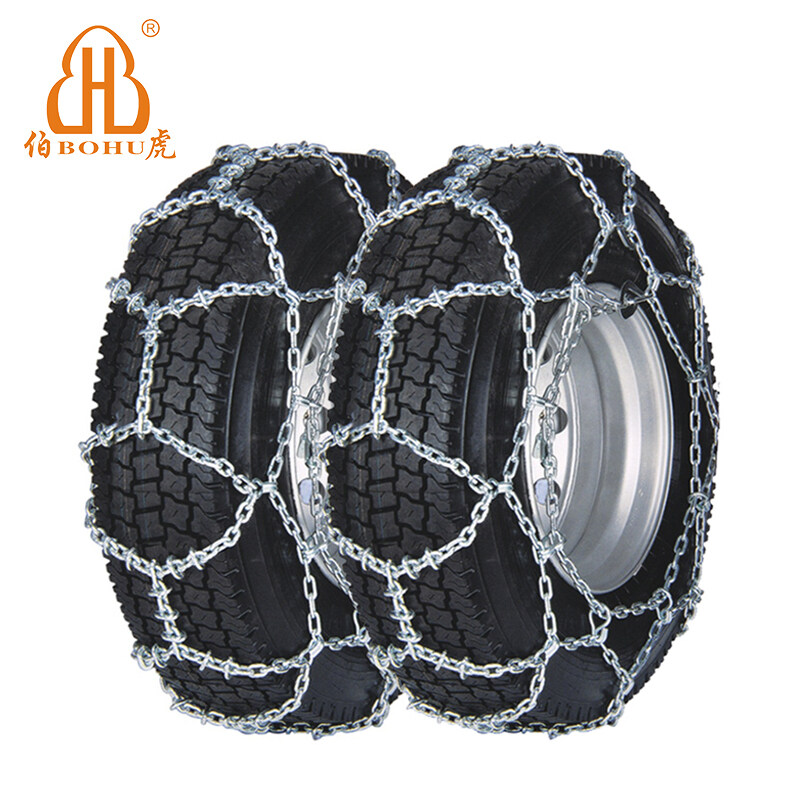
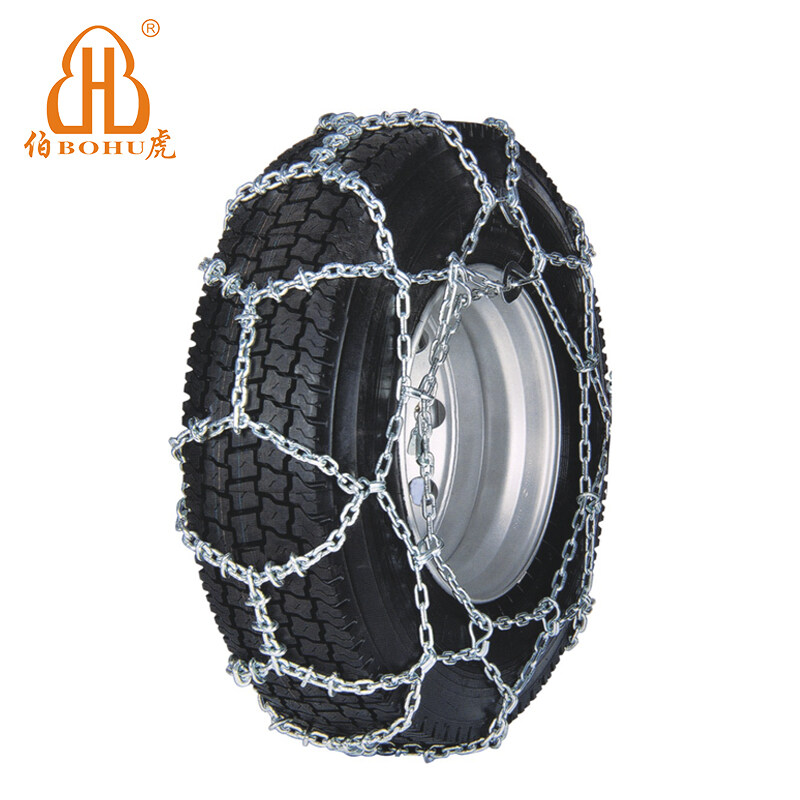
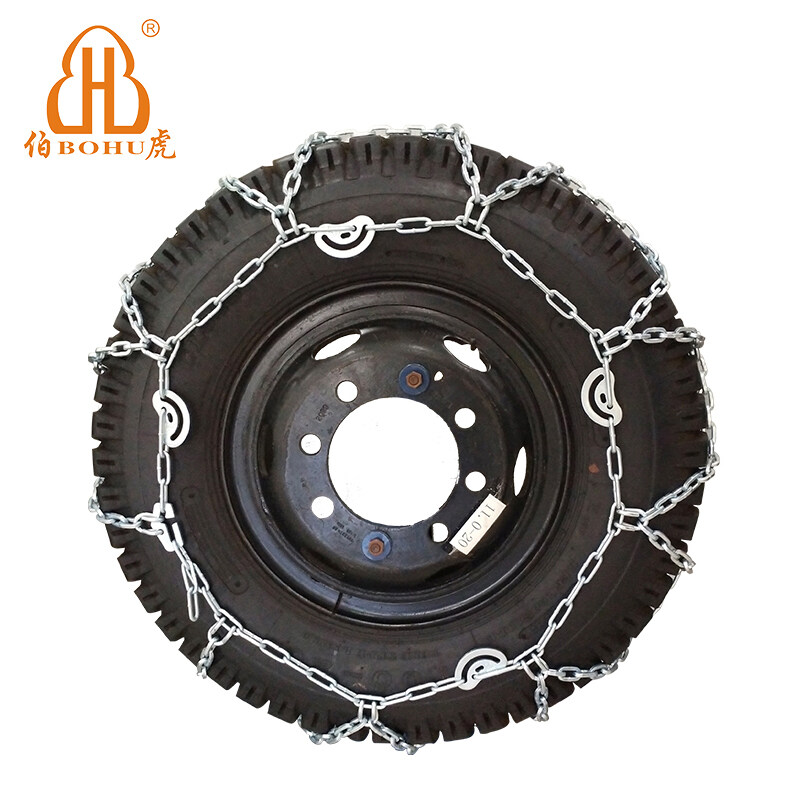
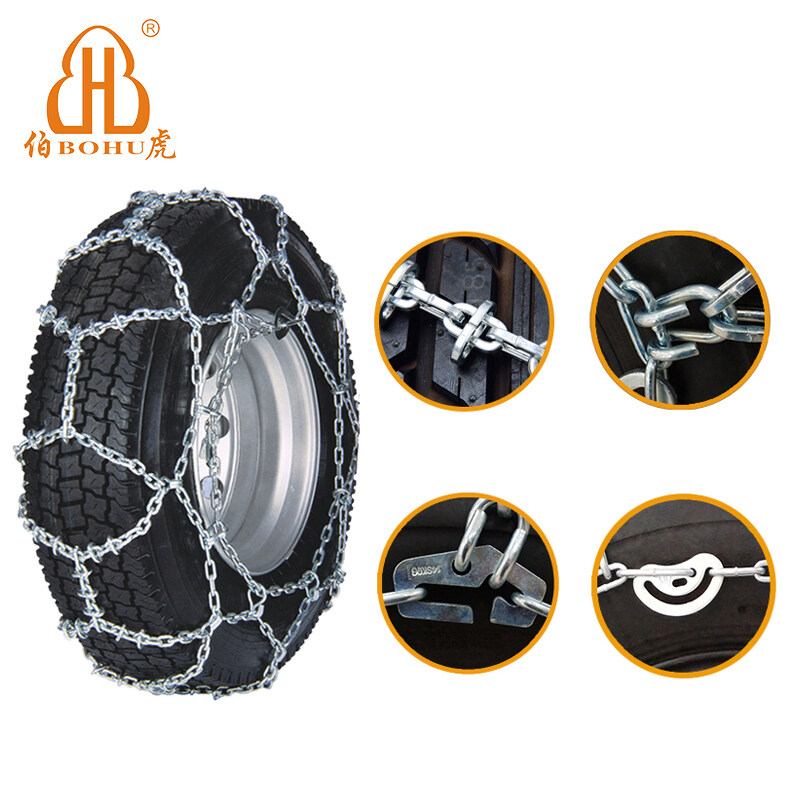
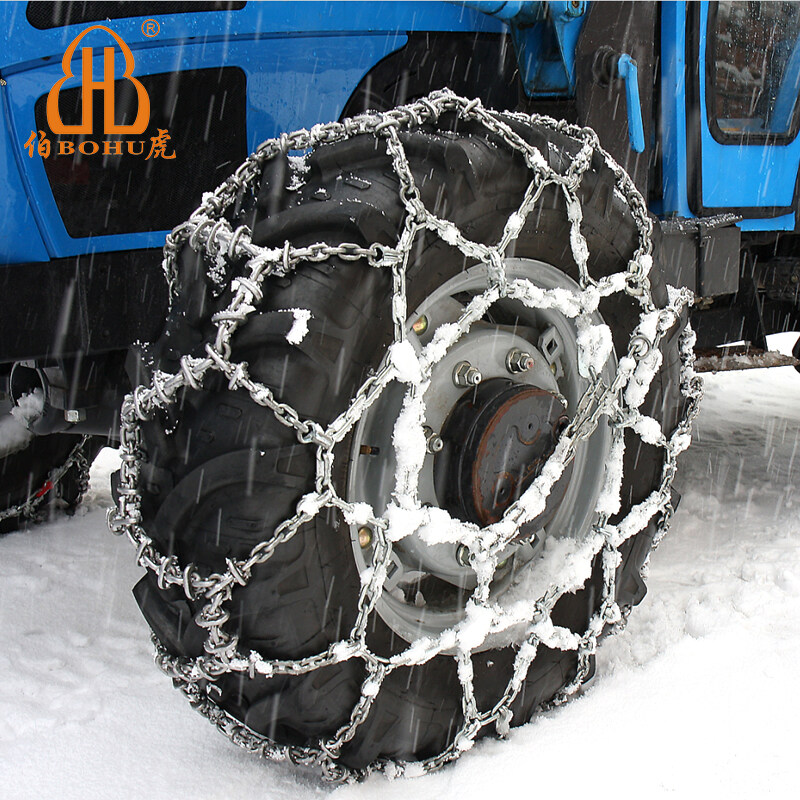
Snow chains have extra-dense anti-slip points that prevent them from slipping more effectively than older chains. In addition, the back of the snow chain is flat and close to the tire. It will not damage tires and roads during use. The alloy steel link anti-slip snow chain can not only increase the slip resistance, but also reduce the vibration and noise. Convenient loading and unloading:
does not need to move the vehicle, loading and unloading goods quickly in just a few minutes.

About this item
Encrypted anti-slip points: The snow chains car has extremely dense anti-slip points that prevent the vehicle from slipping more effectively than old chains.
In addition, the back of the snow chain is flat and sits close to the tire. It will not damage the tires or the road during use.
The Anti-skid Alloy Steel Link Snow Chains can not only increase the slip resistance but also reduce vibration and noise, Convenient loading and unloading: no need to move the vehicle, fast loading and unloading in minutes.
How to install snow chains?
STEP 1. Find out where your vehicle's drive wheels are located.
If you have a front-wheel drive vehicle, install the tire chains on the front wheels, and if you have a rear-wheel drive vehicle, install the tire chains on the rear wheels. It is not necessary to install snow chains on all wheels of the vehicle.
Step 2. Find a safe place
When installing snow chains, make sure you are in a safe position away from the edge of the road.
Step 3: Put the chain on the floor
Start by unwinding the chains and make sure they unwind properly. We recommend that you do this before your trip, it will save you valuable time when installing the chain.
Step 4. Place the chain on top of the bar.
First, make sure your car is stationary and the handbrake is on. Now place the chain on top of the rod-like an arc. Let it hang down three-quarters of the way down. Then place the end of the chain under the bar.
Step 5. Go forwar
Now move forward a little so that the chain can go all the way under the bar and the ends of the chain can connect. After this step, stop the machine and apply the parking brake again.
Step 6: Connect the Chain
Now you need to connect the two ends of the chain. To do this, start from the inside of the tire and connect the hooks on both sides of the tire to each other. To tighten the chain, you can arm yourself with a tensioner hook.
Always check that the connections are properly aligned, otherwise you'll have to start over. Once you're done with the wheel, do the same for the other wheels in the car.
Step 7. Drive a few meters
Travel about 500 yards, allowing the chain to move slightly and tighten evenly so that it fits snugly. Your chain is now assembled!
